I’m not an electrical engineer nor do I know all the technical terms so I thought I would do a bit of “simple instructions” to help with the install. This is all based on my going through and lessons learned.
-
Follow the directions! Don’t skip.
-
Follow the directions! Don’t skip.
-
SET UP THE AP FIRST! You’ll thank me in the end. It can be very tempting to skip this, but once it’s up there, it can be difficult to set up.
-
Test the device on your desktop with the ap. Easier then waiting until after the install. Device can also be used as a cat toy while testing.

-
Do not set up a separate Particle ID if you plan to use IFTTT. I did, and now I’m not able to use this feature. I’m hoping that a workaround will be coming soon. You need to use the same login you used for Garadget when setting up Particle.
-
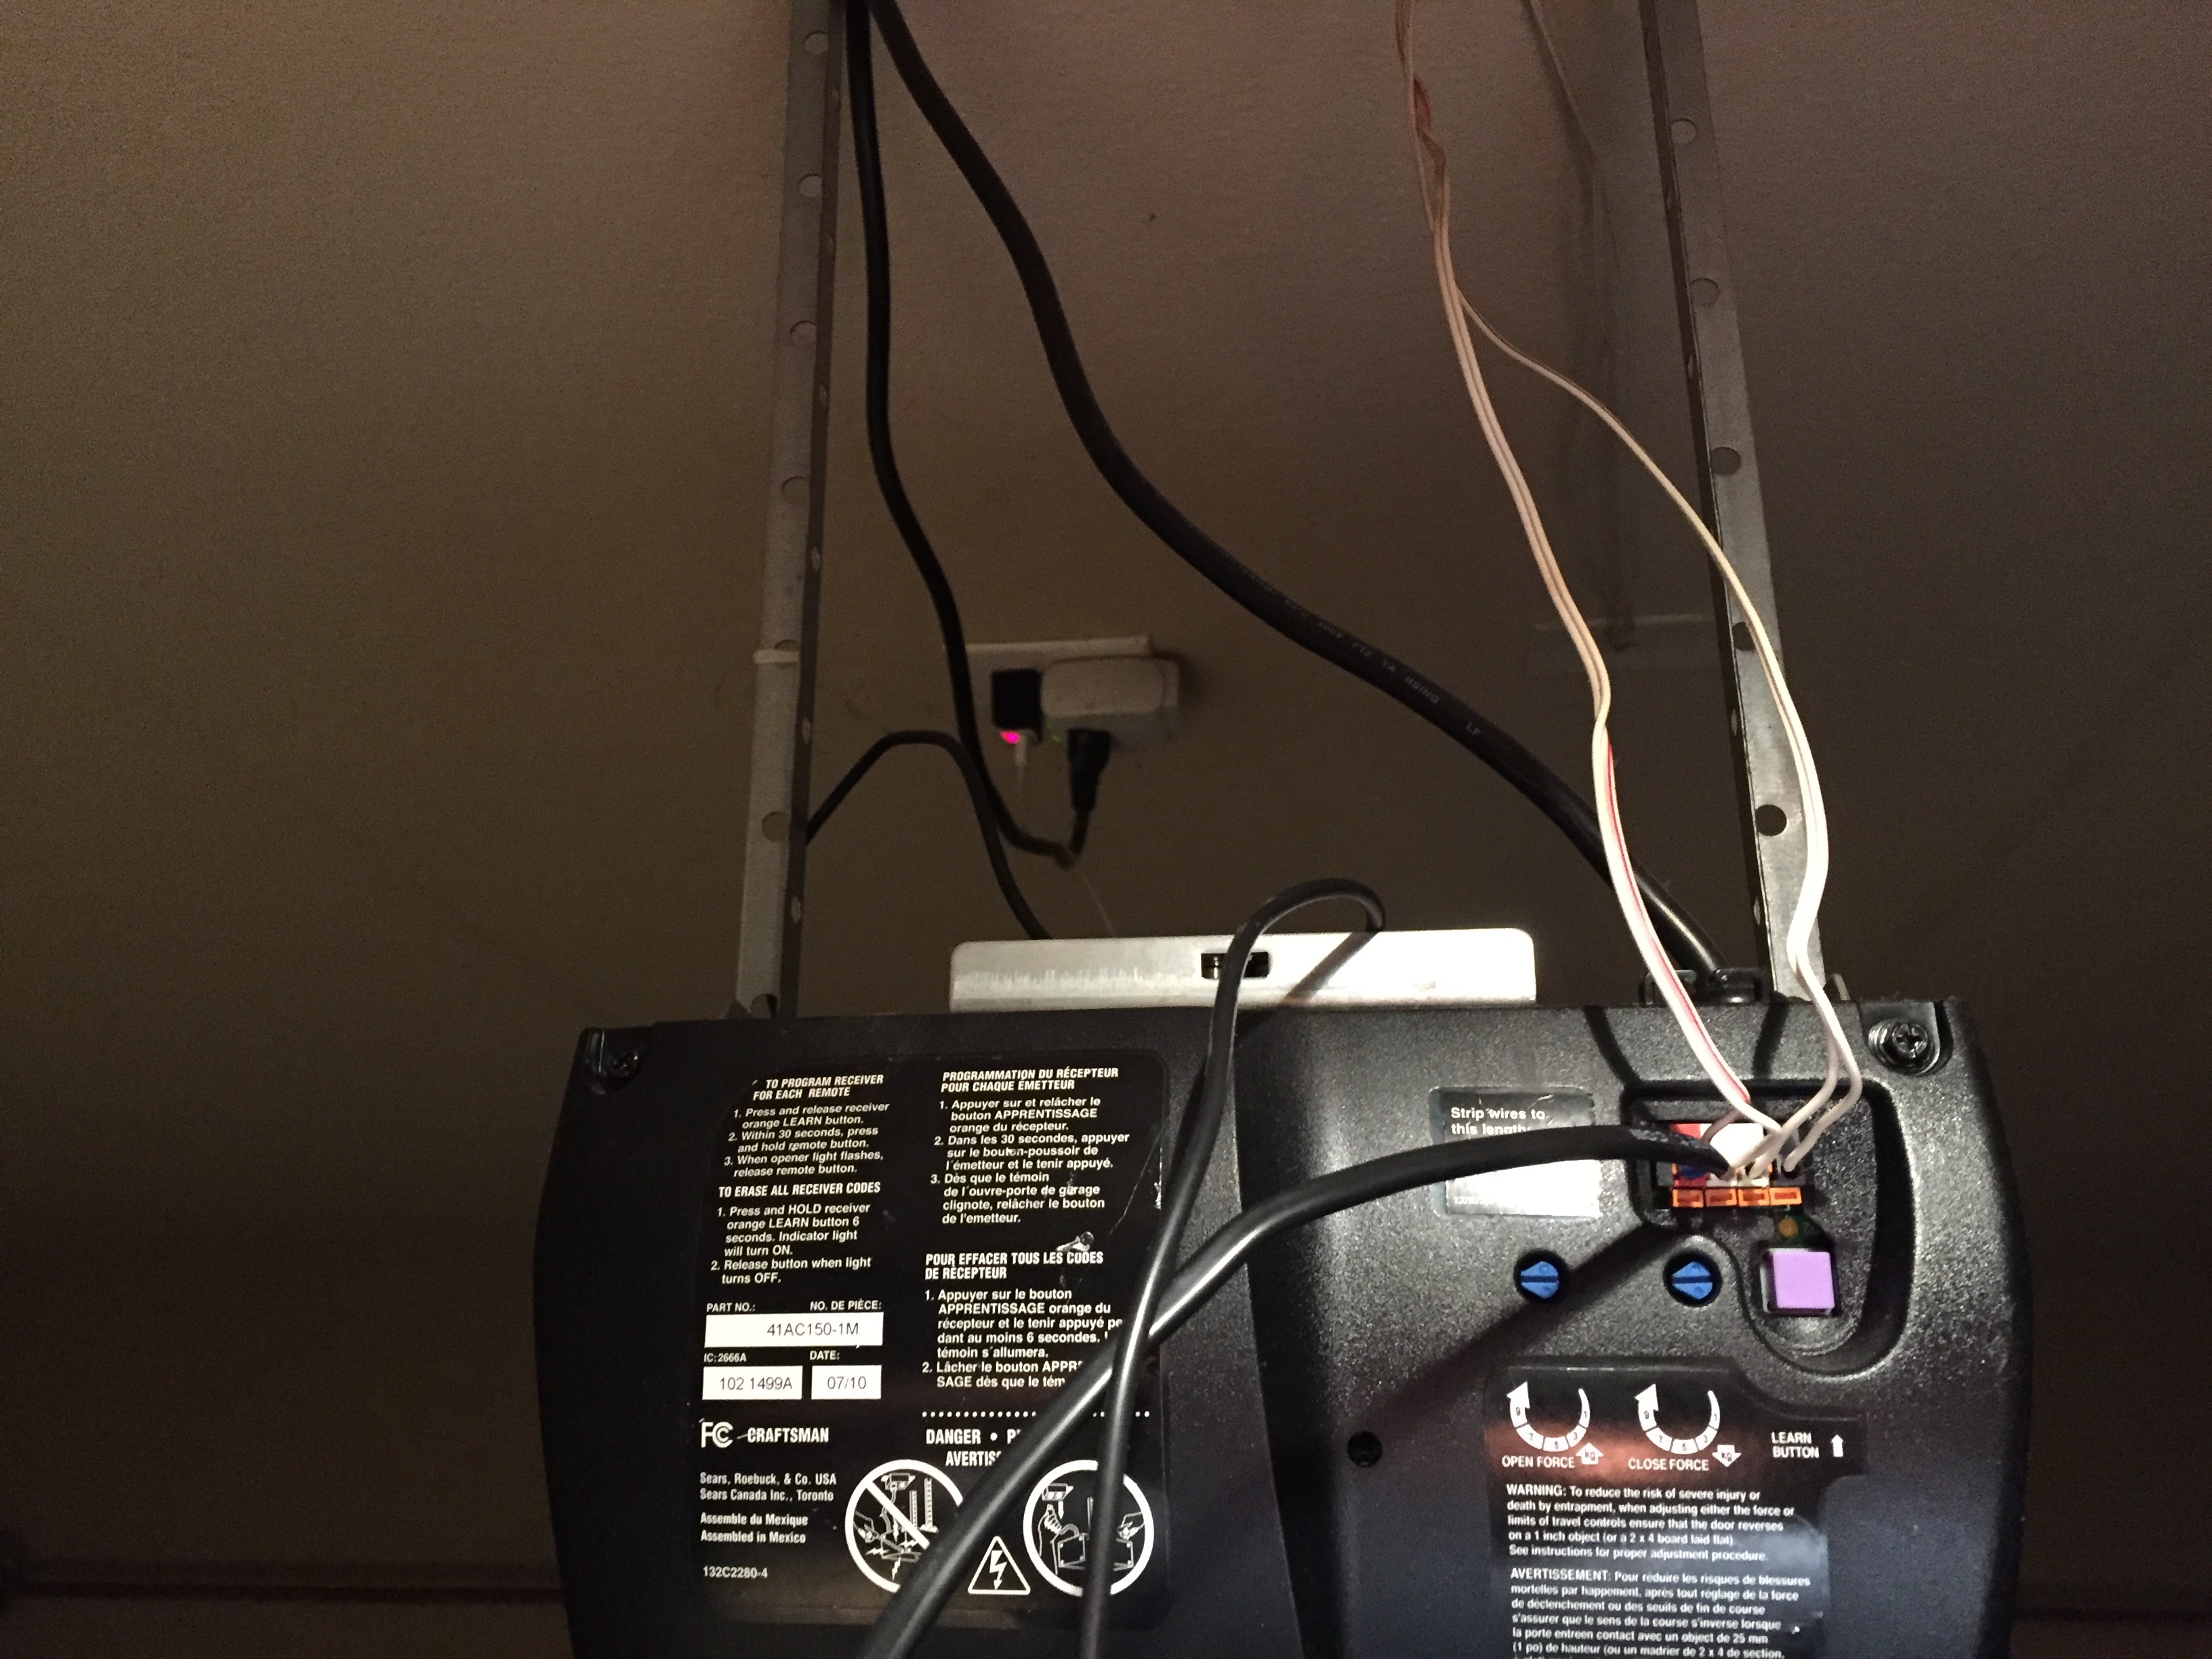
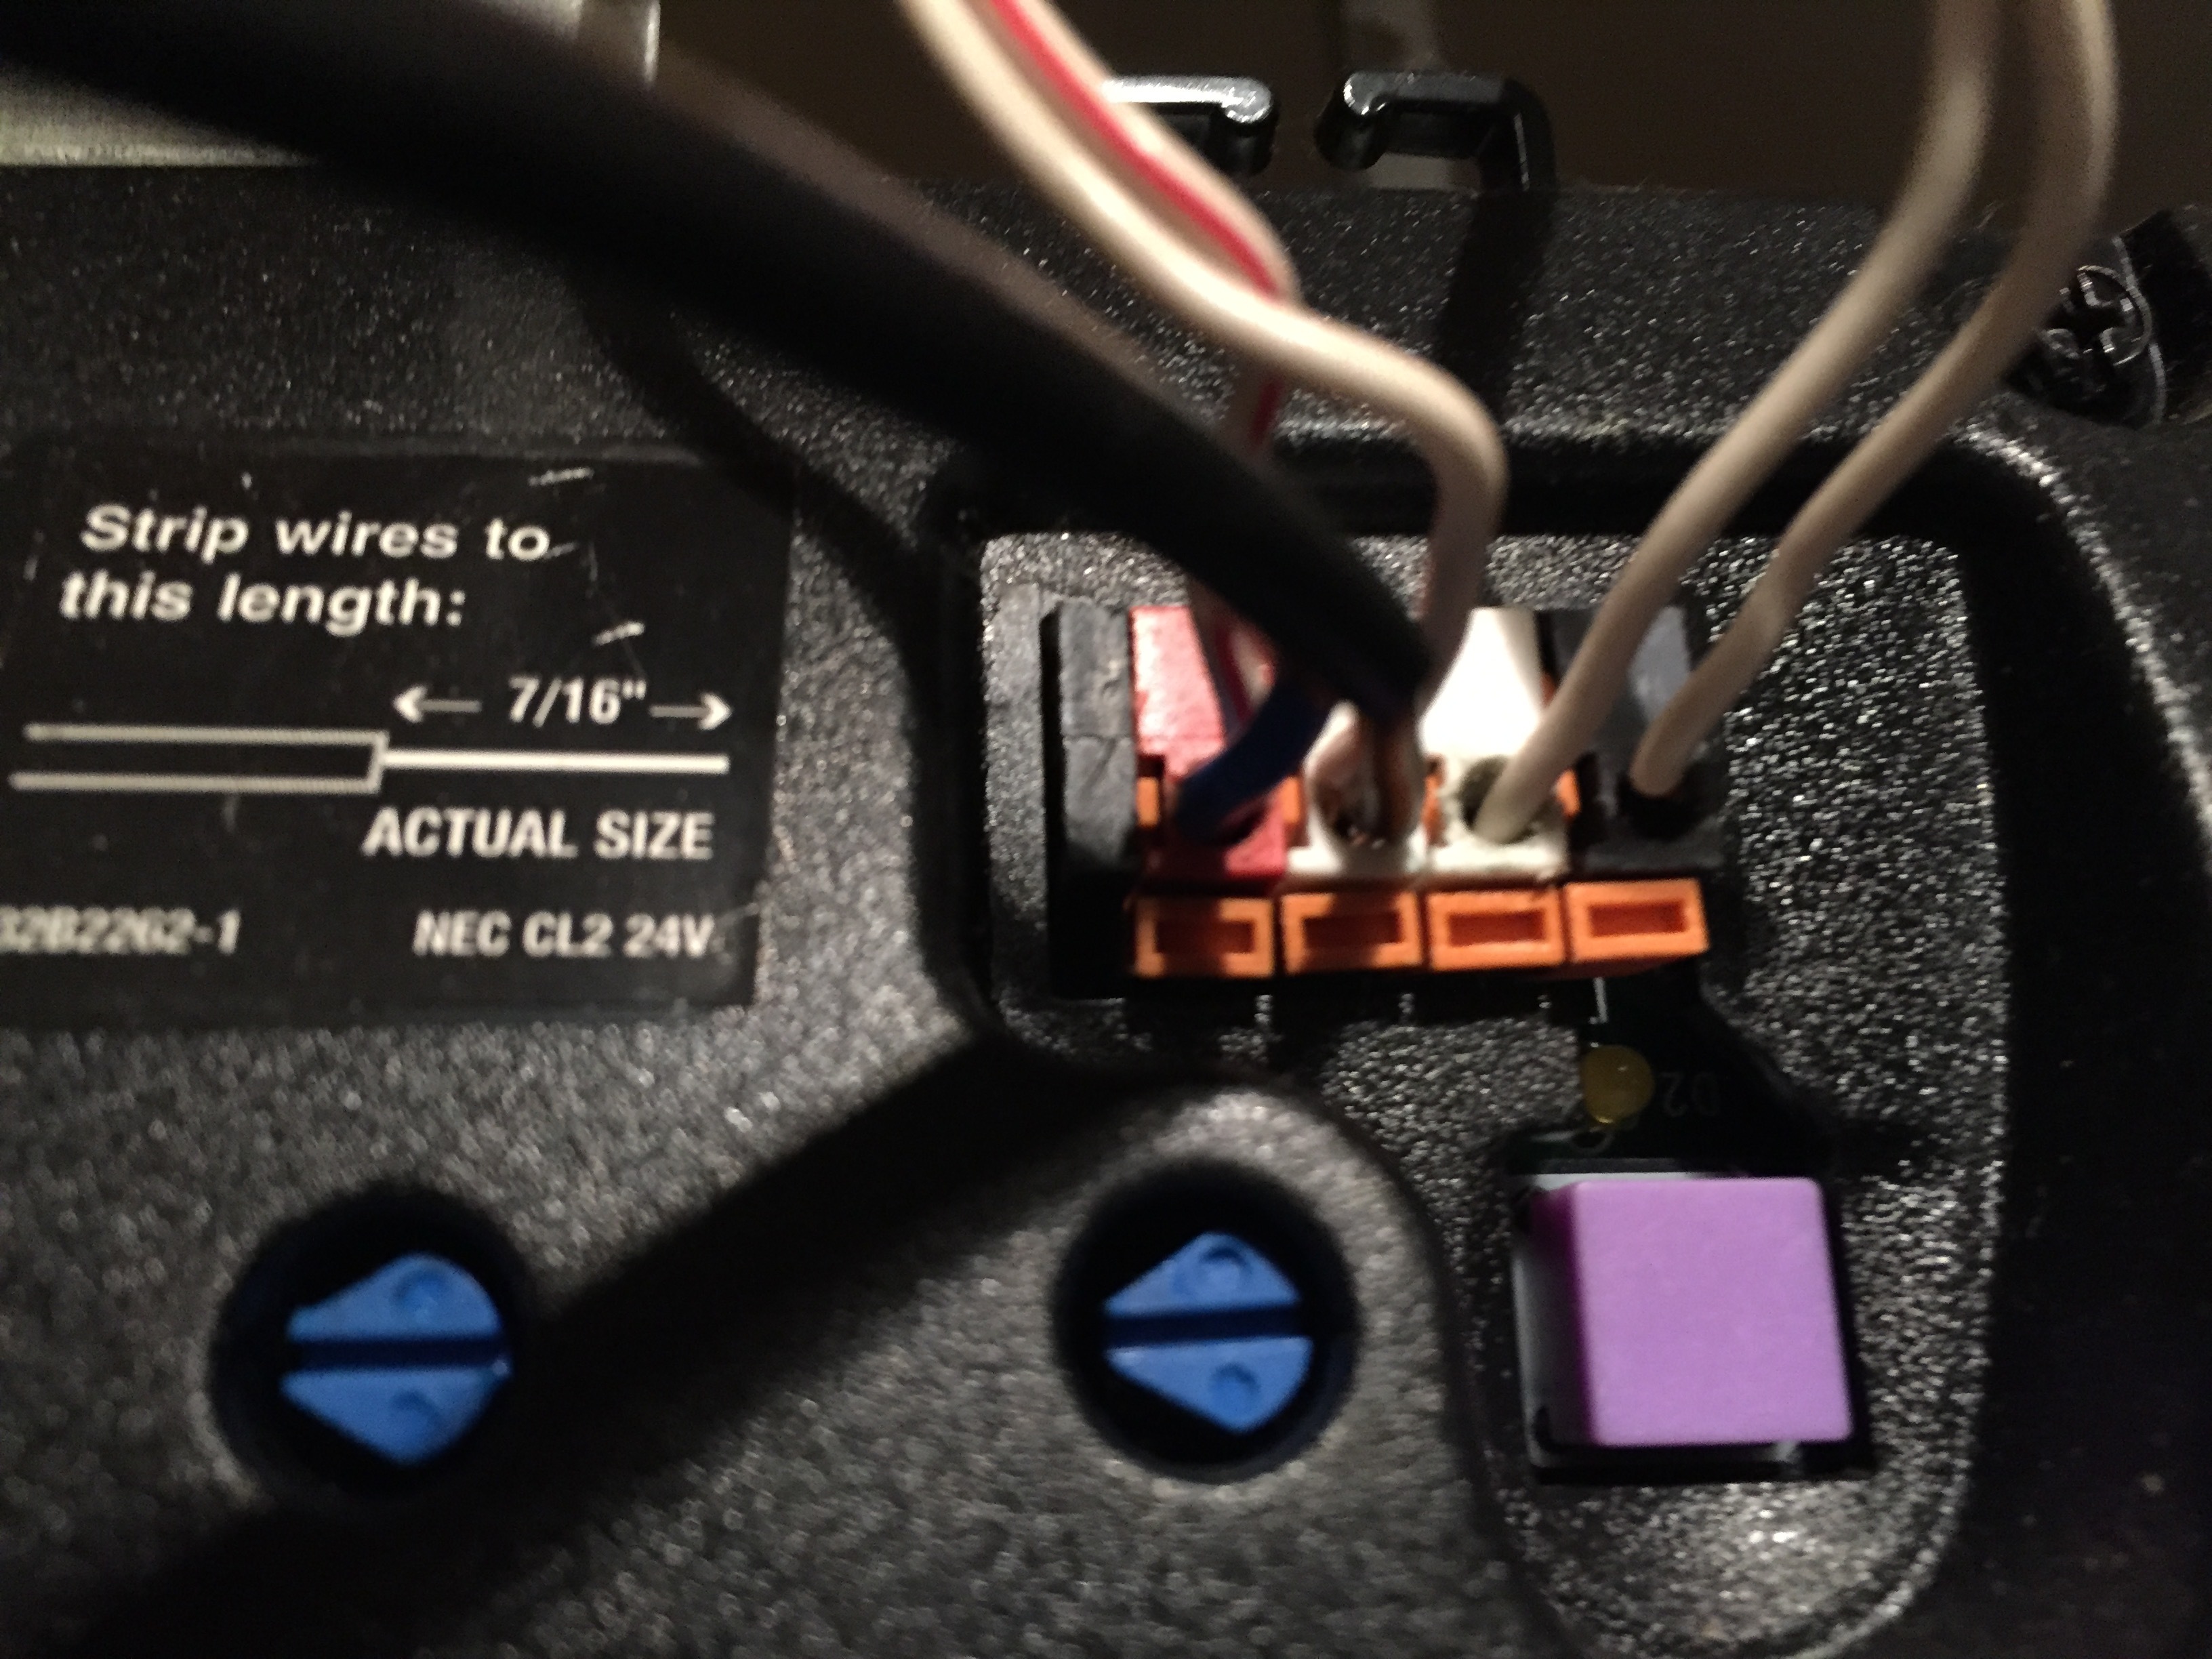
We have a craftsmen/liftmaster. We tested the wires to find out what they were assigned to. We have a wall switch and a keypad entry outside of the garage. We got a bit confused about the wiring. We assumed there was suppose to be a free spot. In the end we found out that you just needed to stick it in the first two slots. You can also piggy back if you have to available slot. Oh, and it doesn’t matter which of the Garadget wires go in which slot. As long as it’s the first and second slot on the opener.
-
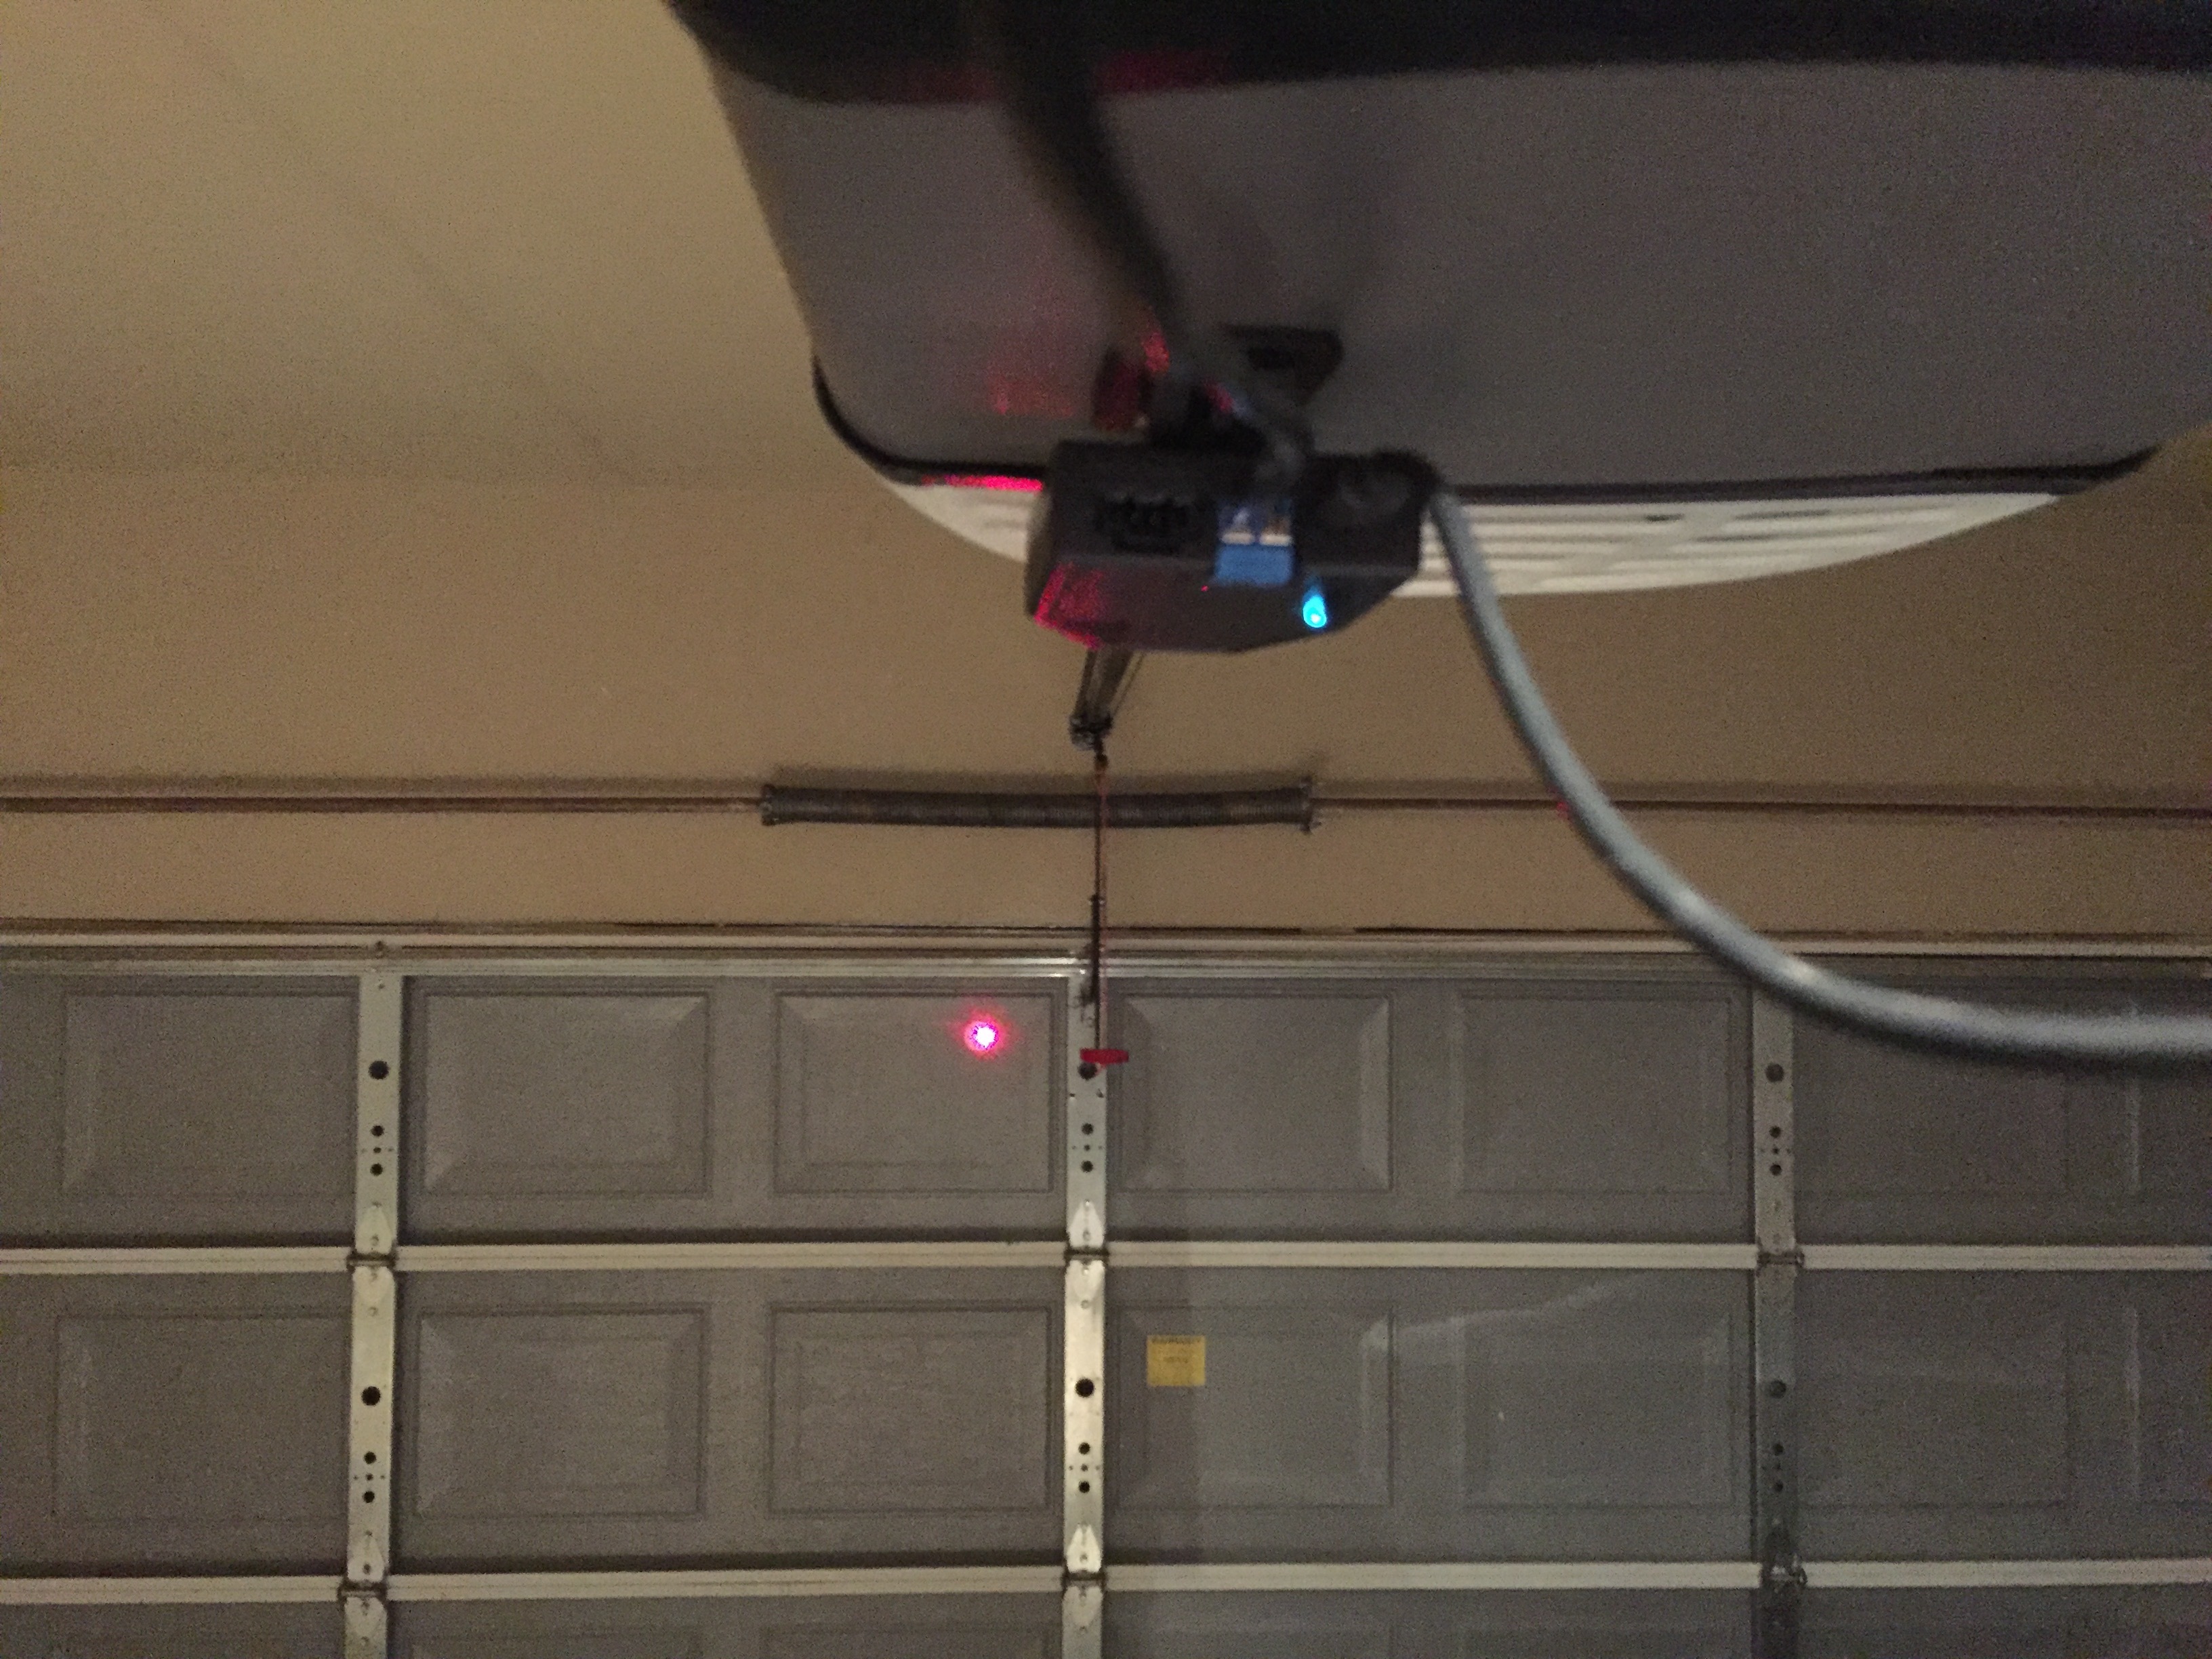
Off set the device so that the red laser beam is off to the side a bit. This way none of the mechanisms get in the way. We have a single garage door. Once the device is attached, add your reflective circle to where the device is blinking to.
You did it!!! Easy Peasy!
Notice how the red and white blocks have double wires.
Set it up first, let the blinky light tell you where you need to add the sticker.
Don’t bother with the micro wire that came with it. Too short. We used an extension on a three foot that was from some old Apple Device.