As previously discussed Security+ 2.0 openers (the ones with the yellow “learn” button) do not support the regular wall push buttons and instead rely on the proprietary serial protocol. Connecting any third party controller to such openers requires a work-around involving a native remote.
The steps are:
find a remote that works with your garage opener
open the remote and locate the button that controls the door
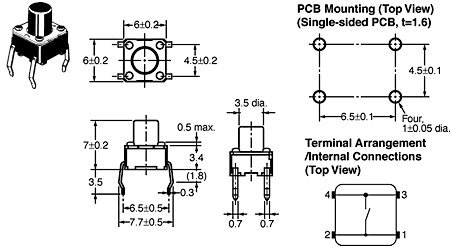
the most common type of the button used in the remotes looks like this:
As shown the pins on the opposing sides are permanently connected so 1 & 2 are the same and 3 & 4 are the same.
solder two wires to the button’s leads (e.g. pins 1 & 3) so Garadget can electronically “press” it. The wire that normally comes in the kit may be too rigid for this, so a softer kind is preferred if available.
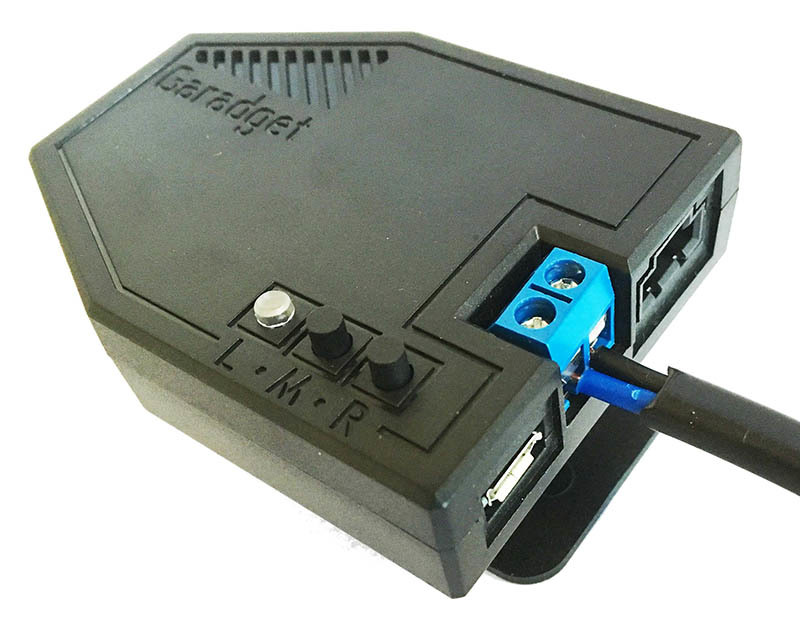
connect two wires on the other end to the blue terminal in the back of Garadget
@xNinjas, thanks!
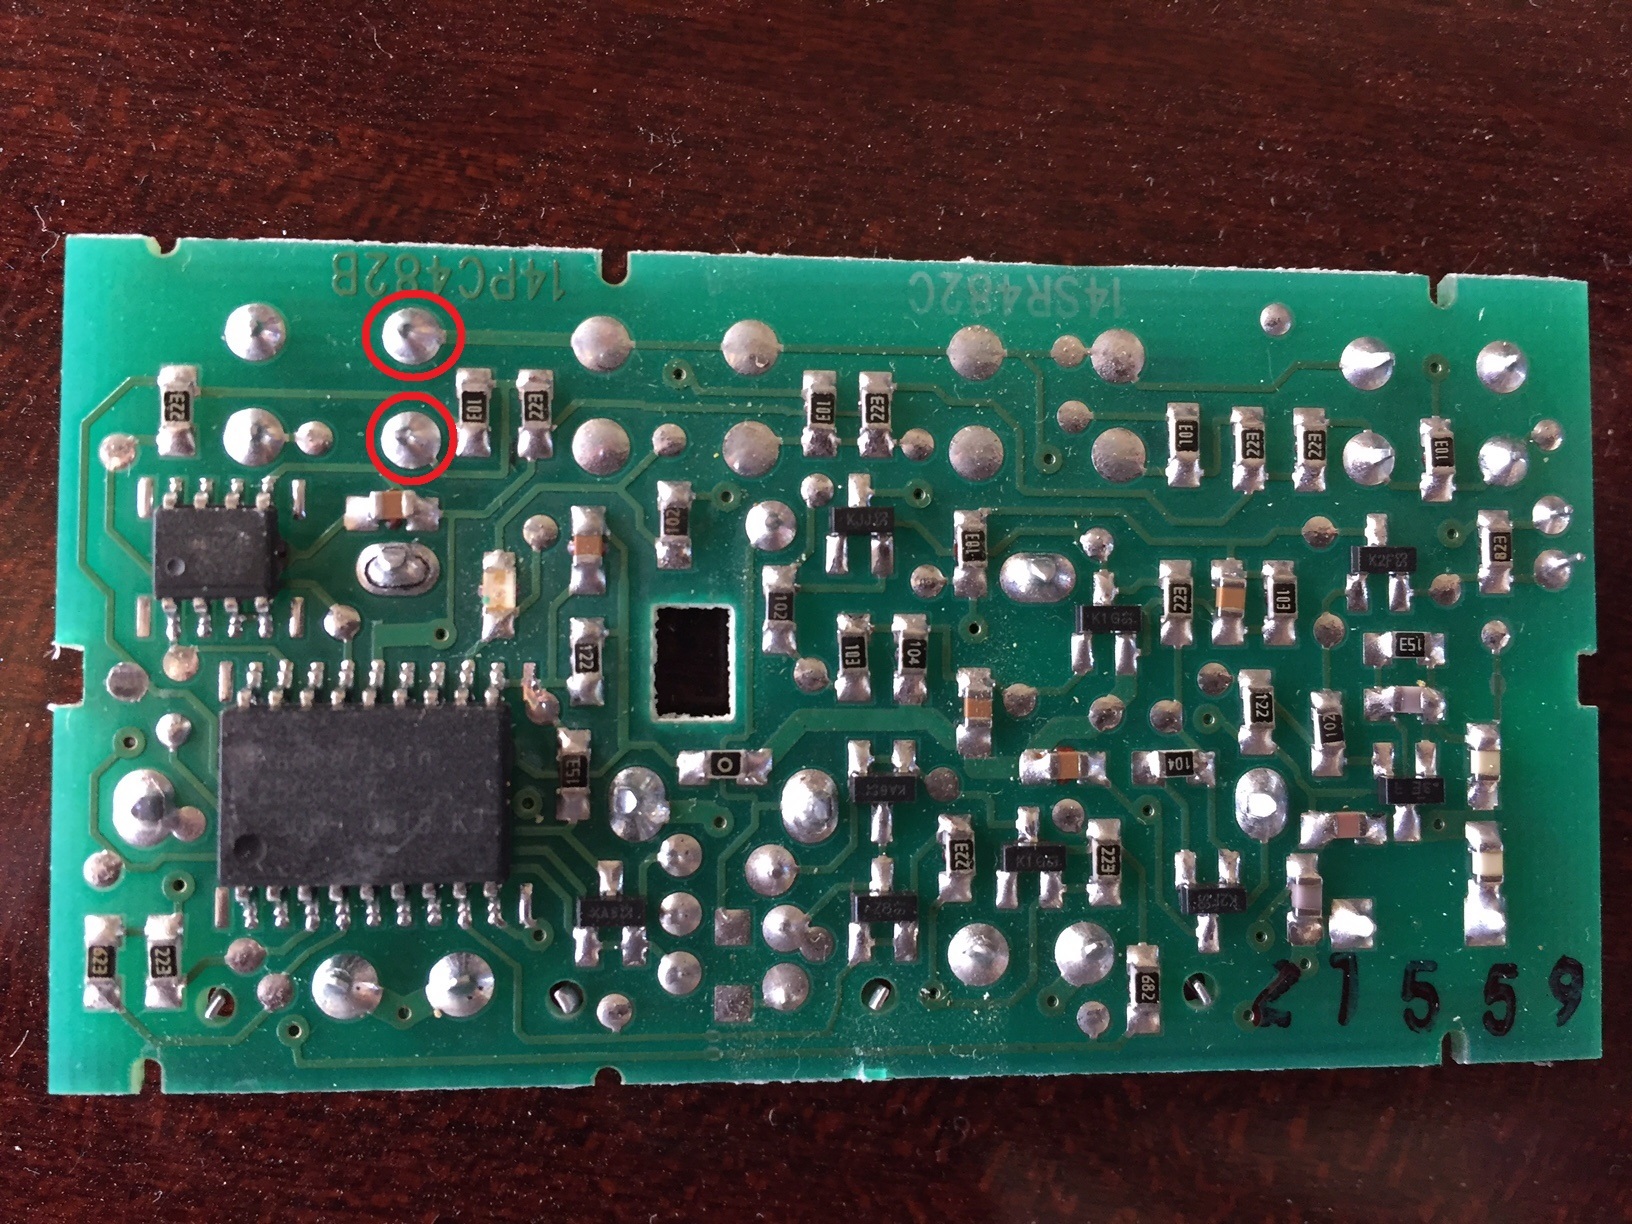
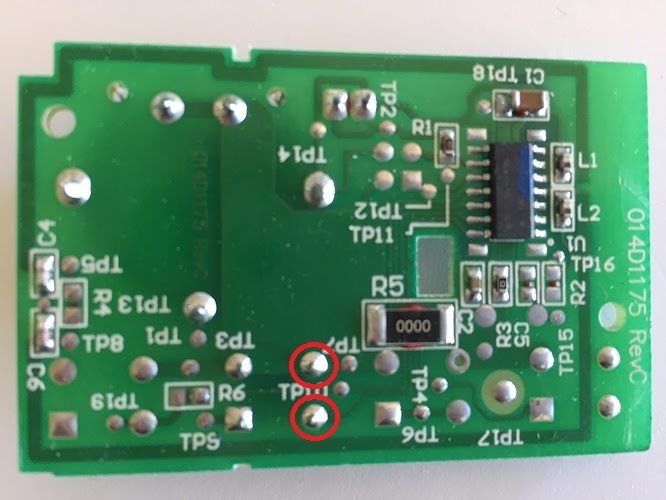
I didn’t know which button does what so I did a general approach guide.
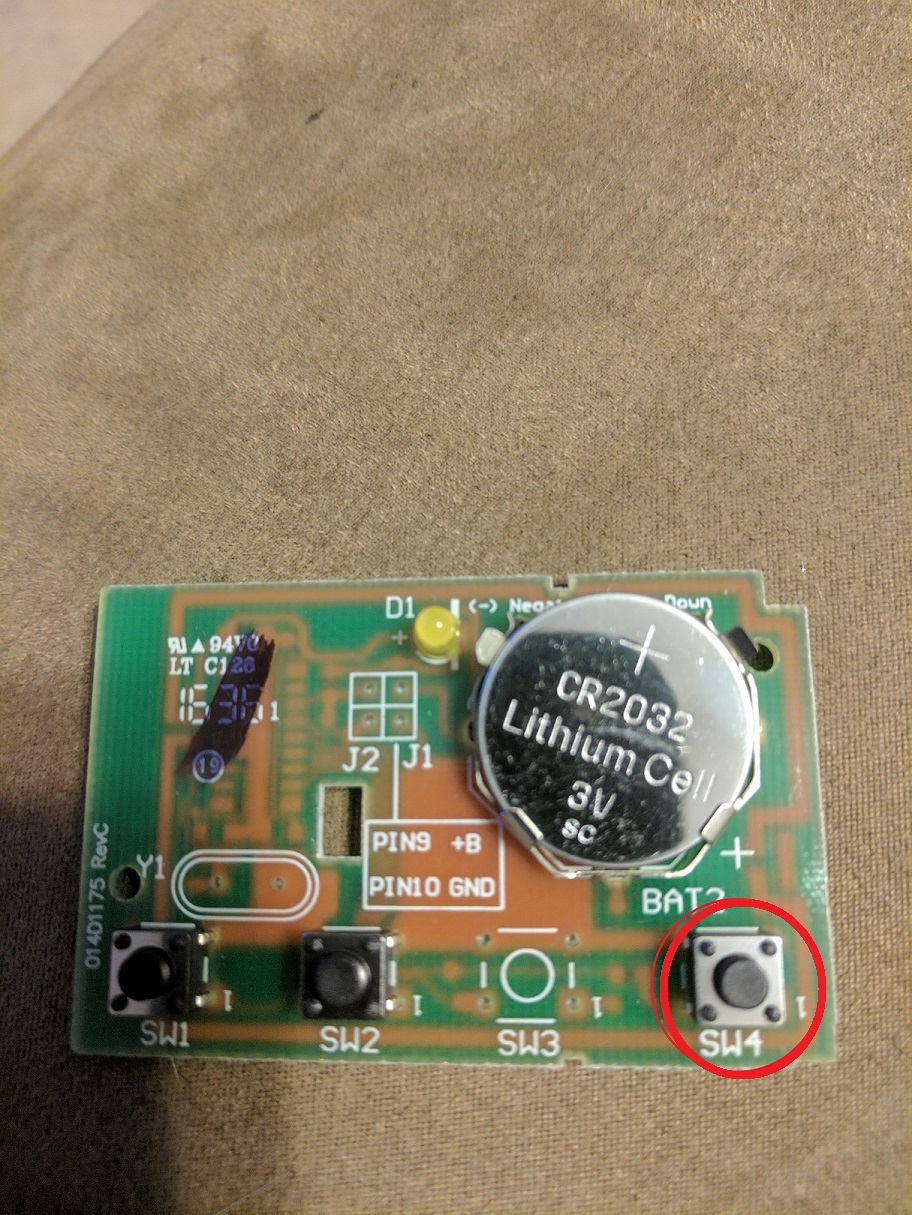
You’re saying that for this model of remote it’s the button on the right in the front view (S4), correct?
No looks like the guy just flipped the remote over. Vertical flip.
See how the hole in the middle of the board stays on the left?
SW1 should be activated not SW4. i think SW4 is lock.
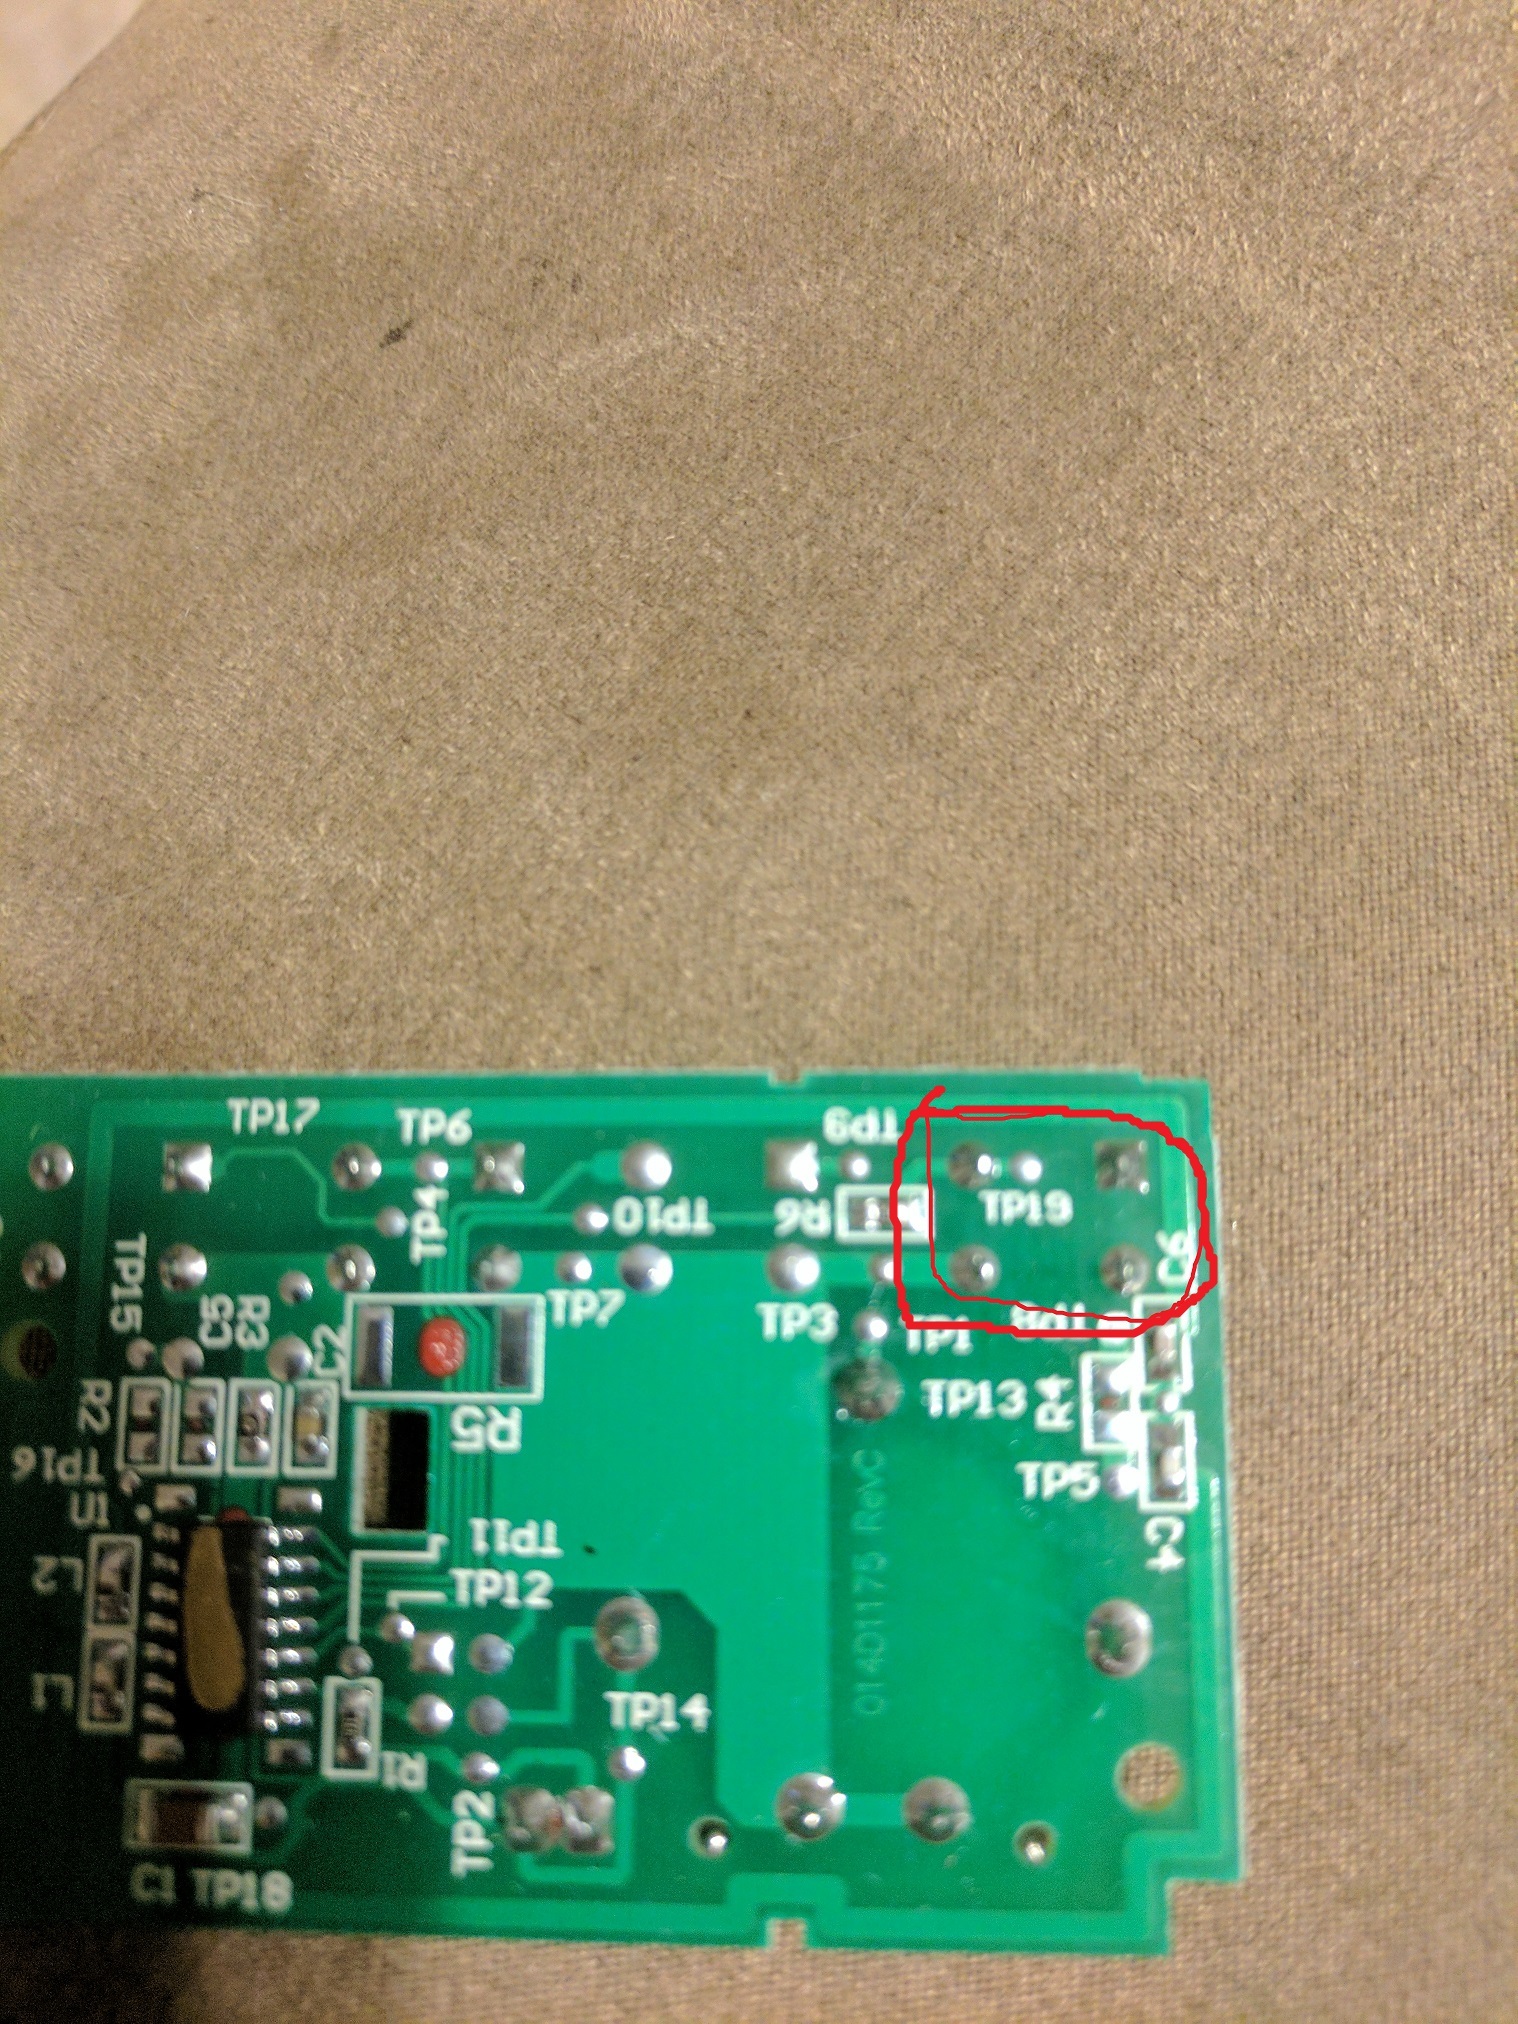
Oh, I can see it now that I matched the pads for the electrolytic capacitor and the battery between the two pictures. Right you are (unlike the button).
I just got my garadget yesterday and didn’t realize that it’s not compatible with my Liftmaster opener out of the box. I’ve read the posts about the “yellow learn button” but it’s still not clear to me about what I need to do. Which of the following should I do?
Get a LiftMaster 883LM door control button and connect garadget relay wire to the button?
Get a LiftMaster spare garage door remote and connect the garadget relay wires to the remote?
It would nice to have this included in the product page as it could have saved lot of time.
Re. buying: I’d look for the best price from the reputable seller online. For this purpose it can be used or refurbished.
Re. wiring: when you receive the remote and confirm that it works with your opener, please post the picture of the both sides of the PCB inside it and I’ll suggest you the hookup points.