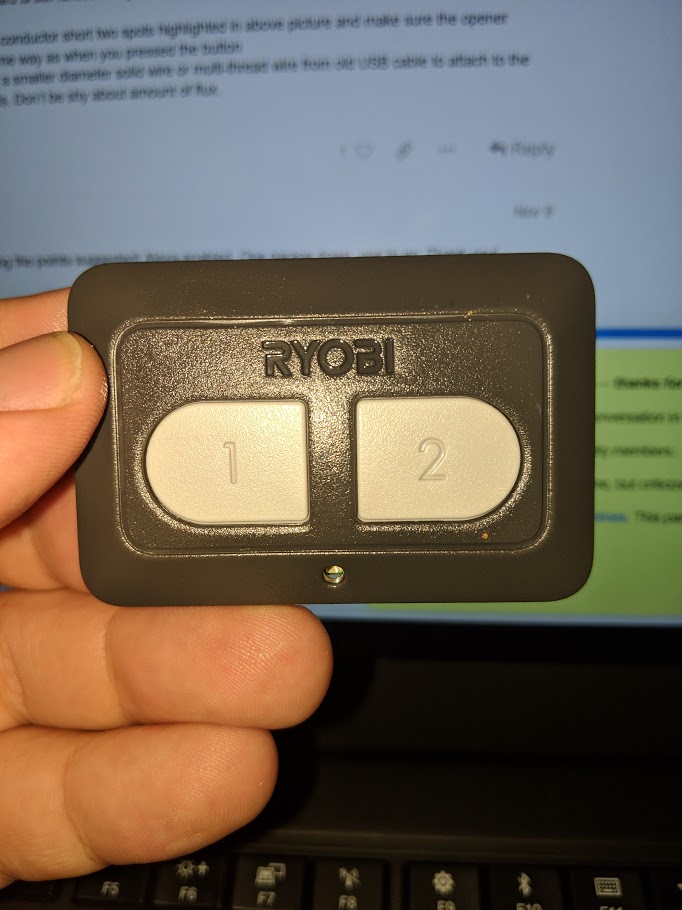
I saw another thread about newer Chamberlain GDO’s, but none for Ryobi. The example here is with a Ryobi GD201.
EDIT Clarified original post after new thread being made.
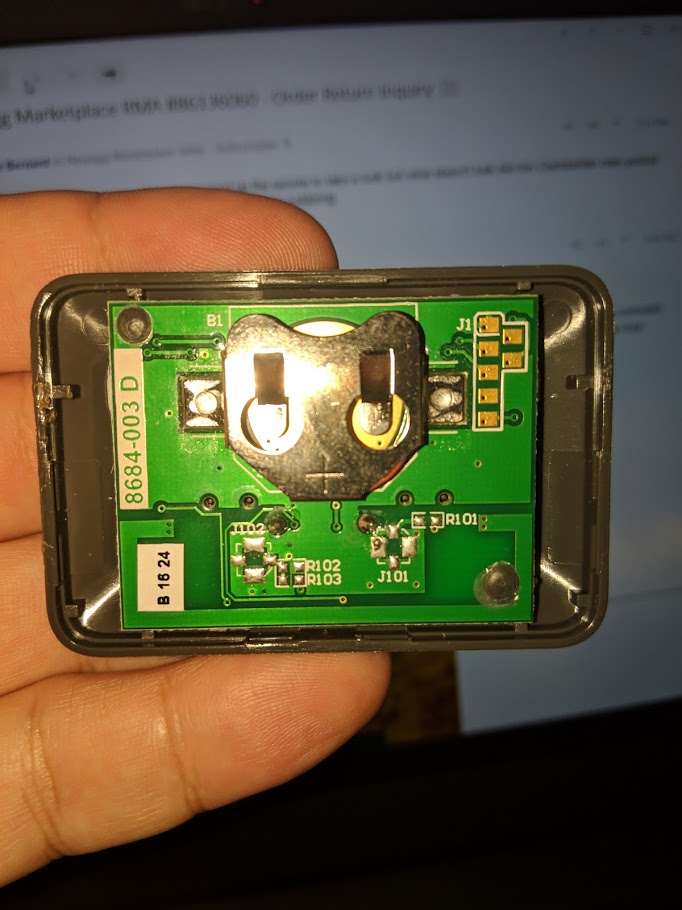
I took my remote apart to determine where to solder, and I just wanted to post an image to see if you knowledgeable types have any input. It’s a 2 button remote.
It appears that this remote may be using surface mounted buttons so the connections are available on the other side of the board. To get access to that you may need to remove the plastic holding it to the front half.
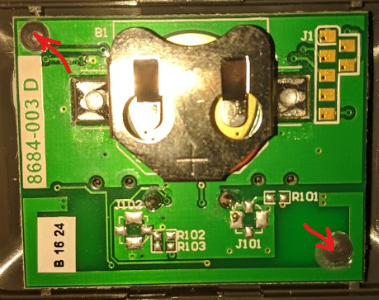
Please post the picture of that side and I’ll point out the connections.
Thank you!!! Now that I see the board from this side it looks pretty obvious it’s just the two solder points alongside the button… but I’ll let you verify.  You rock.
Exactly, depending on which button you programmed to operate the door it’s the two pads on the sides of the corresponding button. I would recommend using thinner wires for the connection. The wires included with Garadget are rigid so they can be easily pushed into terminals. To avoid the strain on the pads here you can use flexible wire like those in network cables or USB cords.
We have success!! Soldering to the two connection points to the button has made for a successful connection and communication between the garadget and the remote. Thank you for your help!
1 Like